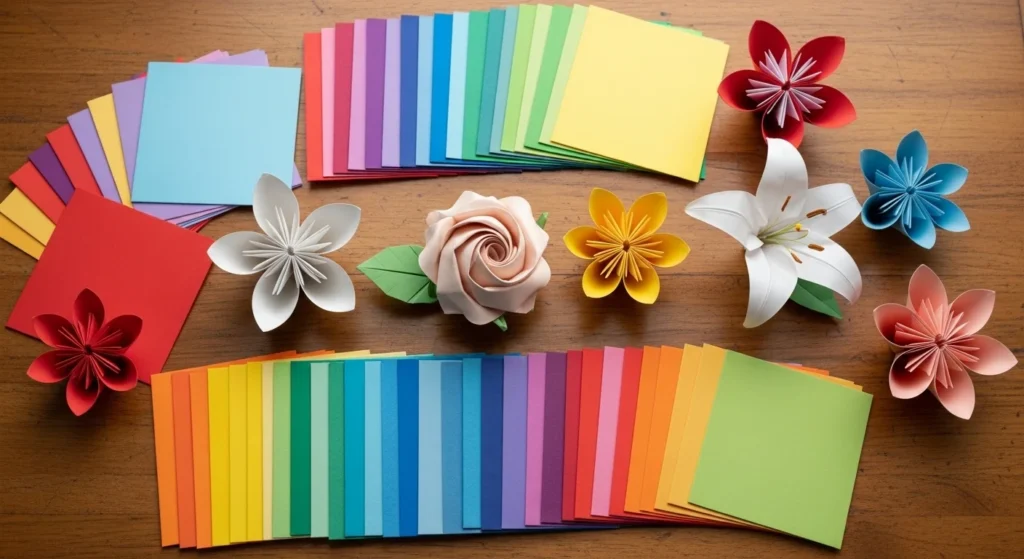
There’s something magical about turning a simple square into a delicate flower—without scissors or glue. 🌸 Origami paper flowers rely on nothing but precise folds, clever creases, and a bit of patience. From roses and lilies to cherry blossoms and kusudama blooms, all you need is one perfectly folded sheet.
The beauty of origami? It’s clean, minimal, and endlessly creative.
Let’s start with the basics and build your confidence step by step.
What You Need to Get Started
Origami keeps it simple.
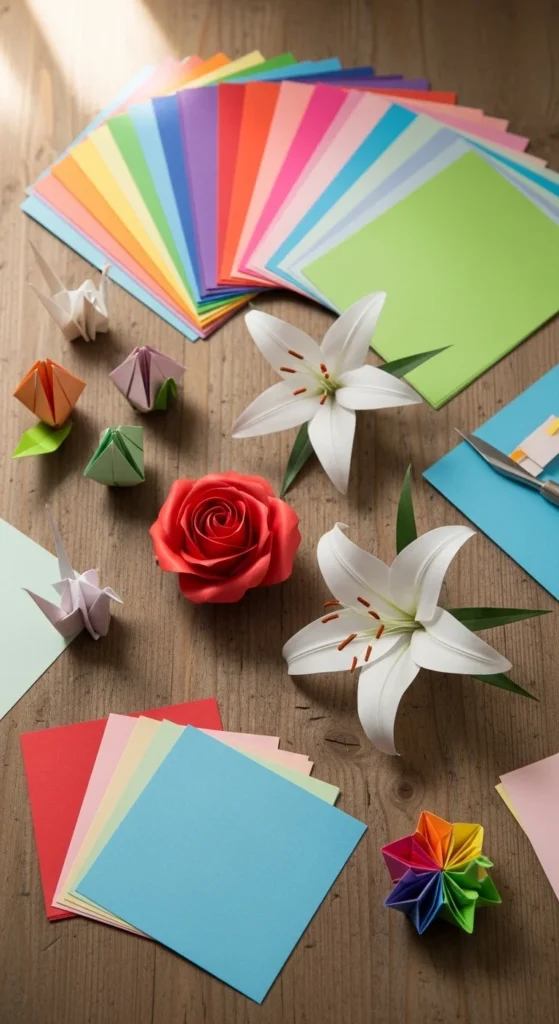
- Square paper (6×6″ or 15×15 cm recommended)
- A flat surface
- Your hands
That’s it. No glue. No cutting.
Paper Size Tips
- 6×6 inches → Small, detailed flowers
- 10×10 cm → Perfect for modular units
- 15×15 cm → Beginner-friendly roses
Smaller squares create sharper details, but they require more precision.
Origami Basics: Valley & Mountain Folds
Before making flowers, understand two core folds:
- Valley fold: Fold paper toward you (like closing a book).
- Mountain fold: Fold paper away from you.
Clean creases are everything in origami. Run your fingernail firmly along each fold to sharpen it.
If your creases are uneven, the flower won’t sit properly later.
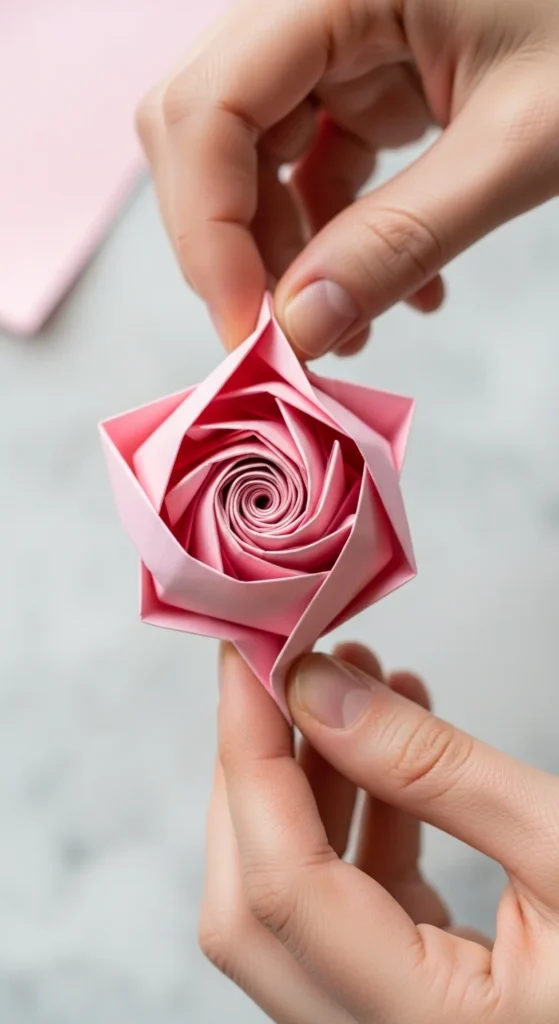
Easy Single-Square Origami Rose (Beginner-Friendly)
This rose is a favorite among beginners and can be made from one square sheet.
Step-by-Step Overview
- Start with a 15×15 cm square.
- Fold in half diagonally (valley fold).
- Fold corners inward to form smaller triangles.
- Create a grid by folding into halves and quarters.
- Collapse folds into a layered square base.
- Twist the center gently to form a spiral.
- Curl outer corners slightly to shape petals.
The twisting center creates a “propeller” shape before it blooms into a rose.
Final Touch
Pinch and gently bend each petal outward for a softer look. This small step adds dimension and realism.
Most beginners can complete this rose in 5–7 minutes once familiar with the folds.
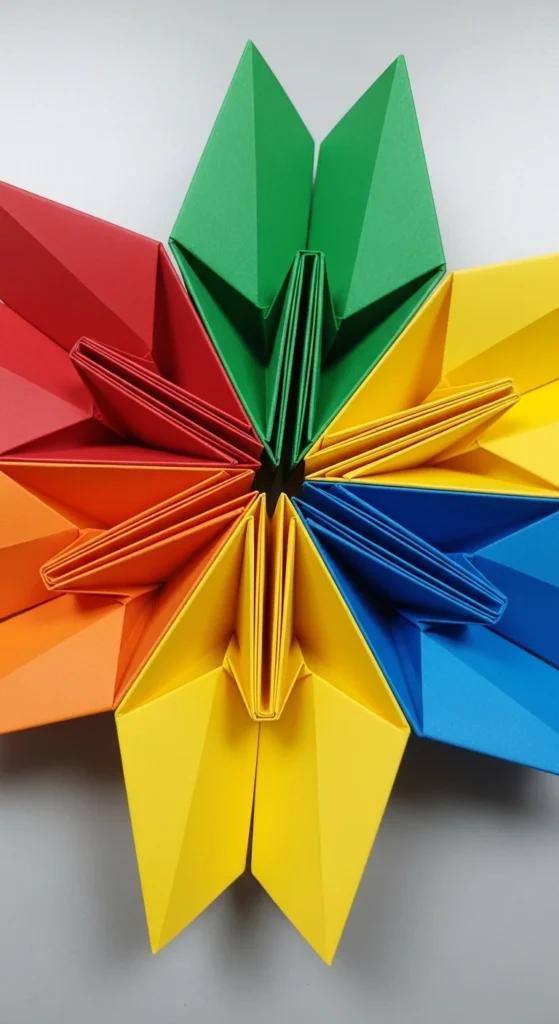
Simple 5-Petal Modular Flower
If you love symmetry, modular origami is for you.
Instead of one square making one flower, you’ll create five identical units and assemble them.
What You’ll Need
- Five 10×10 cm squares of Square paper
Basic Unit Steps
- Fold diagonally into a triangle.
- Fold corners upward.
- Open small pockets and squash-fold them.
- Fold tips backward.
Repeat five times.
Then tuck or glue units together in a circle.
These modular flowers are perfect for:
- Garland strands
- Wall decor
- Gift toppers
Make 12 units and assemble into a kusudama-style sphere for a statement decoration.
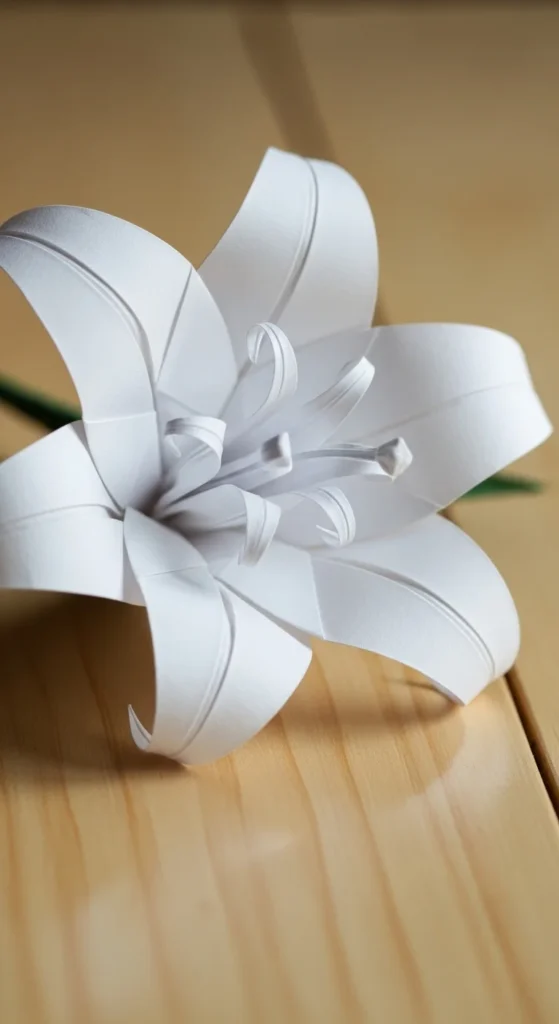
Origami Lily (Elegant & Classic)
The lily is a timeless origami flower that looks impressive but uses simple folds.
Basic Flow
- Start with a square.
- Fold diagonally both ways.
- Collapse into a square base.
- Fold side flaps inward.
- Pull petals upward.
- Curl petals gently with a pencil.
The final petal curl makes the biggest difference.
Lilies are perfect for:
- Table centerpieces
- Minimalist decor
- Handmade cards
Cherry Blossom (Pentagon Base Method)
Cherry blossoms require a slightly different base shape—a pentagon.
Many tutorials, including those by Origami Princess, show how to transform a square into a pentagon before shaping petals.
Quick Overview
- Fold square into triangle.
- Create guiding creases.
- Fold into pentagon shape.
- Round off corners.
- Open and shape petals.
The result is a delicate five-petal blossom.
These look beautiful clustered on branches for spring decor.
Tulips with Stems (Great for Bouquets)
Tulips are wonderfully beginner-friendly.
Bloom
- Fold square diagonally.
- Fold corners upward.
- Open base slightly to form a 3D cup.
Stem
- Fold a green square into a long narrow triangle.
- Insert into bloom base.
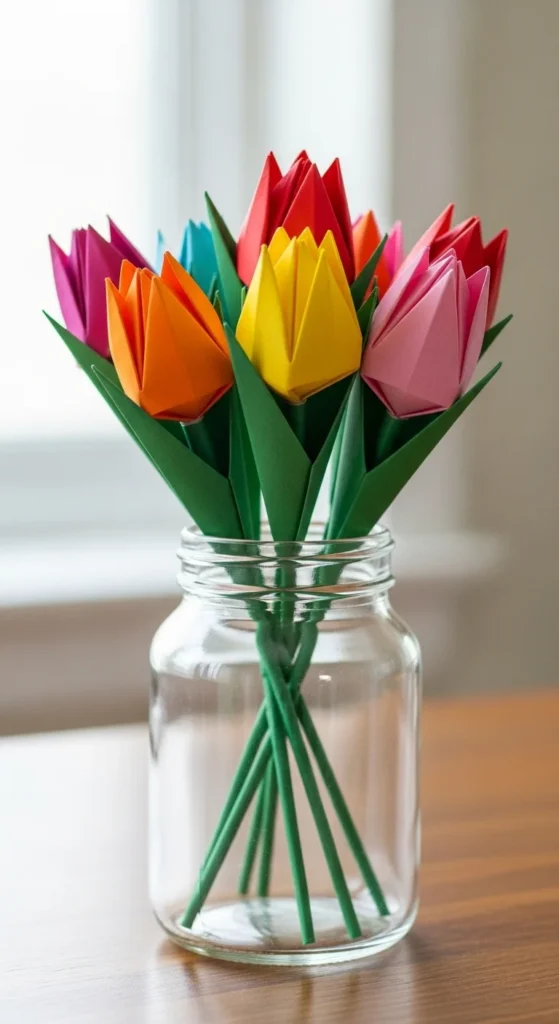
Tulips are perfect for:
- Teacher gifts
- Desk decor
- Kids’ craft sessions
Tips for Better Results
Keep Creases Sharp
Use your fingernail or a flat edge to press folds firmly.
Work on a Hard Surface
Soft surfaces create uneven folds.
Fix Flat Petals
Gently pinch or twist petals after folding to add dimension.
Practice Symmetry
Align edges carefully before creasing.
Origami rewards patience. Small improvements make a big difference.
Scaling Up: Garlands & Decor
Once you’ve mastered single flowers:
- String multiple blooms together for garlands.
- Attach flowers to twine for party decor.
- Create mixed bouquets in coordinated colors.
- Make a kusudama ball using 12 modular flowers.
Using consistent paper size keeps your arrangement balanced.
Common Beginner Mistakes
- ❌ Skipping crease sharpening
- ❌ Folding off-center
- ❌ Rushing complex collapses
- ❌ Using overly thick paper
Stick with standard origami-weight square paper until confident.
Final Thoughts
Origami paper flowers prove that a single square can become something beautiful with just folds and creativity. Start with a simple rose or tulip, then experiment with lilies and modular blossoms as your skills grow.
No cutting. No mess. Just crisp folds transforming paper into art.
Grab a stack of square paper and try your first bloom today—and don’t forget to save this guide for later inspiration! 🌸

DiyVisual is a DIY ideas resource for makers of every level. Our small editorial team researches and curates easy, budget-friendly craft, home decor, and handmade gift projects — explained step by step so anyone can recreate them at home with simple materials.


