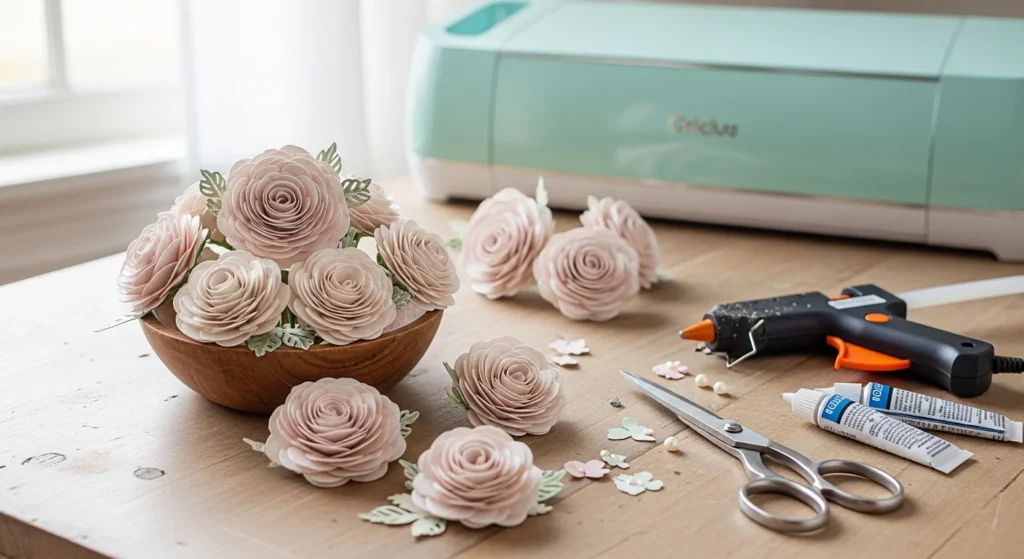
Want paper flowers that actually hold their shape? 🌸 Cardstock is the secret.
Unlike thin paper, Cardstock creates sturdy, sculpted blooms that look polished and professional. Whether you’re building a bouquet, decorating a nursery wall, or crafting a wedding backdrop, cardstock flowers deliver bold dimension that lasts indefinitely.
And the best part? You can cut petals by hand—or let a Cricut do the precision work for you.
Let’s walk through the step-by-step process so you can create your own stunning cardstock blooms.
What You’ll Need
Before you begin, gather your materials:
- Cardstock (65–80 lb weight works best)
- Scissors (or a Cricut)
- Hot glue gun
- Floral wire (for stems)
- Bone folder or pen (for curling)
- Optional: SVG templates (like those by Lia Griffith)
Why 65–80 lb Cardstock?
- Thick enough to hold curves
- Flexible enough to shape
- Durable for backdrops and bouquets
Lighter paper flattens. Heavier paper can be too stiff to curl.
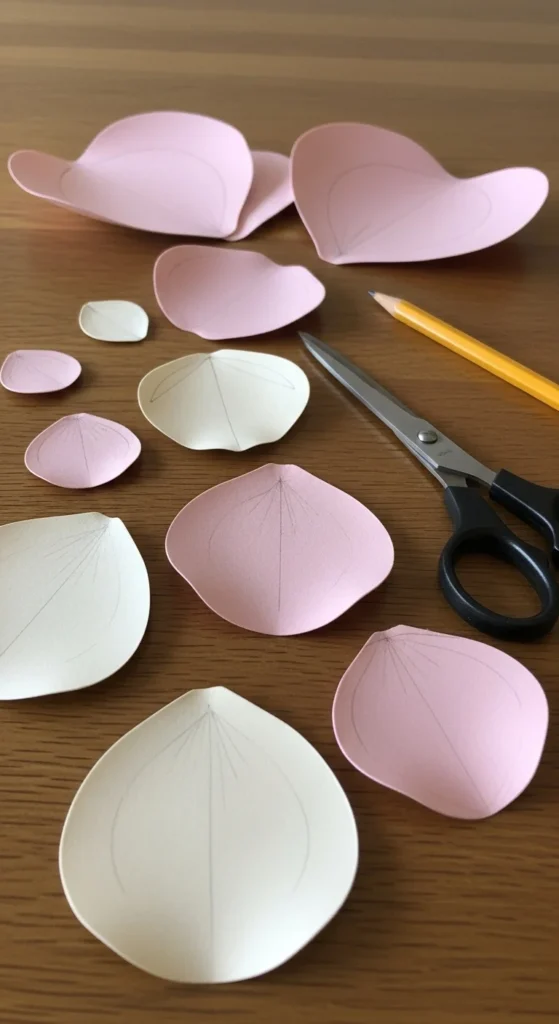
Step 1: Cut Your Petals
You have two options: machine-cut or hand-cut.
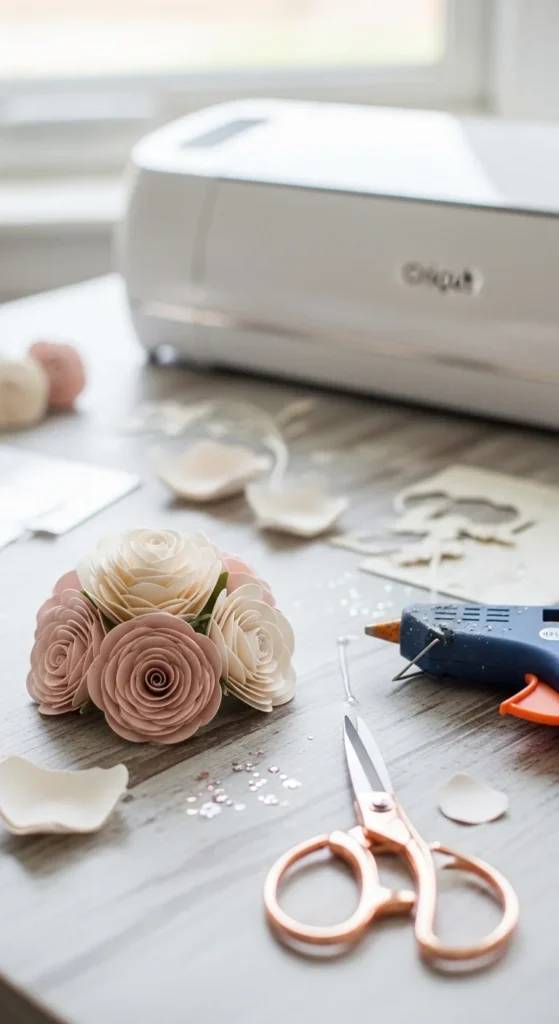
Option A: Using a Cricut (Fast & Precise)
Upload a Cricut SVG file and cut:
- Small inner petals
- Medium middle petals
- Large outer petals
- Sepals (green base pieces)
A ranunculus-style flower, for example, may include labeled A–D petal layers in different sizes.
Option B: Hand-Cutting (Budget Friendly)
No machine? No problem.
- Cut squares from cardstock.
- Fold into triangles.
- Round the top edge.
- Unfold to reveal petal shapes.
You’ll need about 20–30 petals per bloom depending on fullness.
Tip: Stack 2–3 sheets before cutting to save time.
Step 2: Shape and Cup the Petals
This is where flat paper turns realistic.
Using a Bone folder (or the barrel of a pen):
- Gently curl the top edges outward.
- Press the center of the petal into a soft cup shape.
- Slightly bend the base inward.
Why This Matters
Cardstock doesn’t stretch like crepe paper. Instead, shaping tools create curve and dimension.
You can also use:
- A foam mat underneath
- A rounded tool to press into the center

Common Mistake: Skipping this step. Without shaping, flowers look stiff and flat.
Step 3: Build the Flower Center
Start small and work outward.
- Take the smallest petal.
- Roll it tightly into a bud shape.
- Secure the base with a small dot from your hot glue gun.
Continue adding small petals around the center, slightly overlapping each one.
Glue Tips
- Use small glue dots, not large blobs.
- Hold petals in place for a few seconds.
- Rotate the flower as you build.
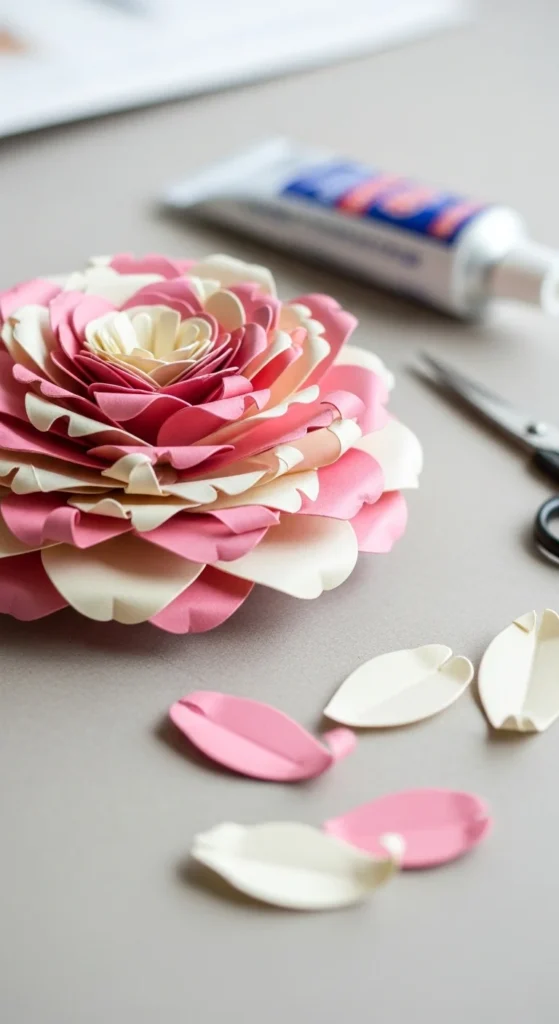
Step 4: Layer Larger Petals
Now add your medium and large petals.
- Place each new layer slightly lower than the previous.
- Offset petals between layers.
- Angle outer petals outward for realism.
Some large backdrop flowers use 13–15 petals per outer layer for dramatic scale.
If making giant decor flowers, glue petals onto a cardboard disc base for stability.
Step 5: Add Sepals and Stem
Cut a green star-shaped sepal piece and glue it to the underside of the bloom.
Insert floral wire into the base and secure with glue.
Wrap the wire tightly with floral tape for a clean, finished stem.
If creating a bouquet like those popularized by Jennifer Maker, you can anchor stems into floral foam inside a decorative vase.
Beginner Rose Shortcut (No Cricut Needed)
If you’re new, try this simple spiral method:
- Draw a large spiral on cardstock.
- Cut along the line.
- Roll from the outer edge inward.
- Glue the base underneath.
It’s quick, forgiving, and great for scrapbook paper too.
How to Make Ranunculus-Style Blooms
For a more detailed flower:
- Use multiple labeled petal sizes (A–D sets).
- Cup each petal deeply.
- Layer tightly packed center petals.
- Gradually open the outer layers.
Designers like Lia Griffith are known for this realistic layered technique.
Expect about 20–30 minutes per bloom with machine cutting.
Giant Backdrop Flowers
Want wall decor that wows?
- Cut oversized petals (8–12 inches long).
- Use 65 lb cardstock for easier shaping.
- Glue petals in rows of five around a sturdy disc.
- Layer 3–5 rings for fullness.
These are perfect for:
- Wedding photo walls
- Baby showers
- Store displays
- Nursery decor
Common Problems (And Fixes)
Petals Too Stiff
Use lighter 65 lb cardstock and curl edges more deeply.
Flower Looks Flat
Cup the center more and angle outer petals outward.
Glue Showing
Use smaller glue dots and attach closer to the petal base.
Uneven Scale
Keep petal sizes consistent within each layer.
Final Thoughts
Cardstock paper flowers are durable, sculptural, and incredibly versatile. With the right weight paper, careful shaping, and layered assembly, you can create roses, ranunculus, peonies, and giant statement blooms that last for years.
Start simple with hand-cut petals, then experiment with SVG files and a Cricut if you want faster precision. Once you master curling and layering, your flowers will look polished and professional every time.
Save this tutorial for later—and start building your first bloom today! 🌸

DiyVisual is a DIY ideas resource for makers of every level. Our small editorial team researches and curates easy, budget-friendly craft, home decor, and handmade gift projects — explained step by step so anyone can recreate them at home with simple materials.


