St Patrick’s Day garlands are one of the easiest ways to add seasonal charm without committing to permanent decor. They work in small apartments, large homes, classrooms, and party spaces alike. DIY garlands feel especially appealing because they are lightweight, reusable, and simple to customize. This list focuses on charming St Patrick’s Day DIY garlands that rely on basic materials, calm green tones, and flexible designs. Each idea is approachable, affordable, and easy to adapt for mantels, shelves, stair rails, windows, or walls.
1. Classic Paper Shamrock Garland

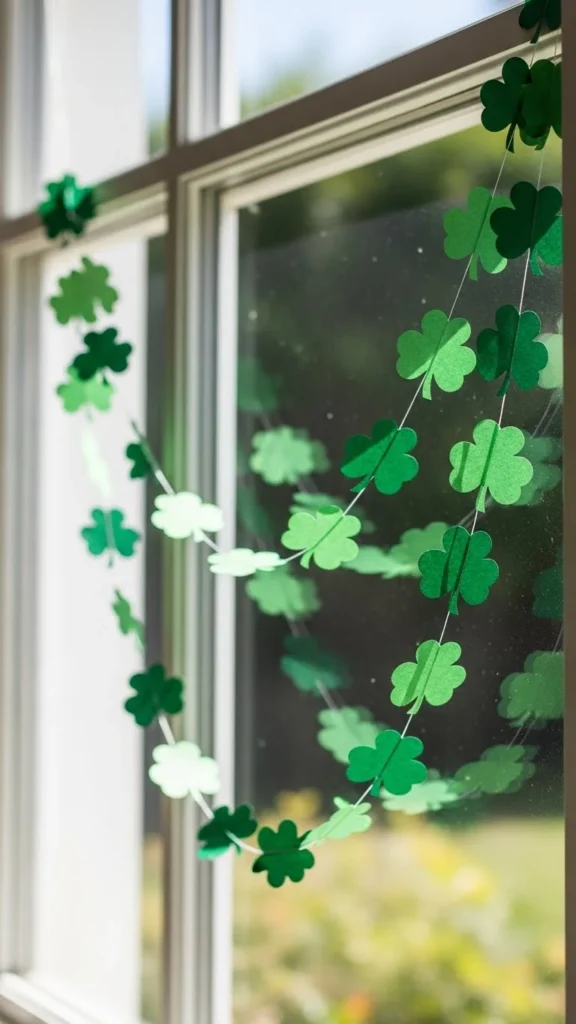
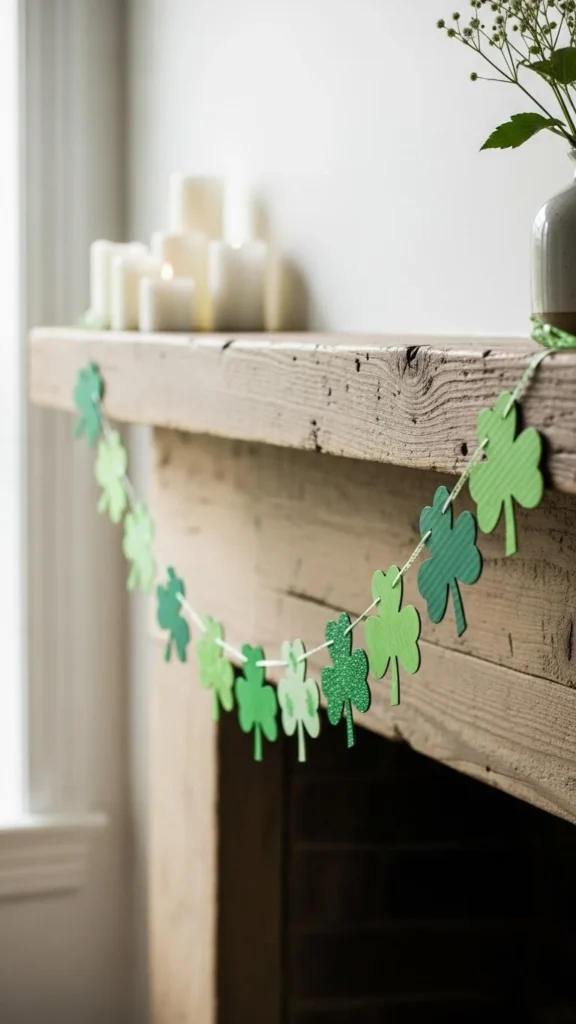
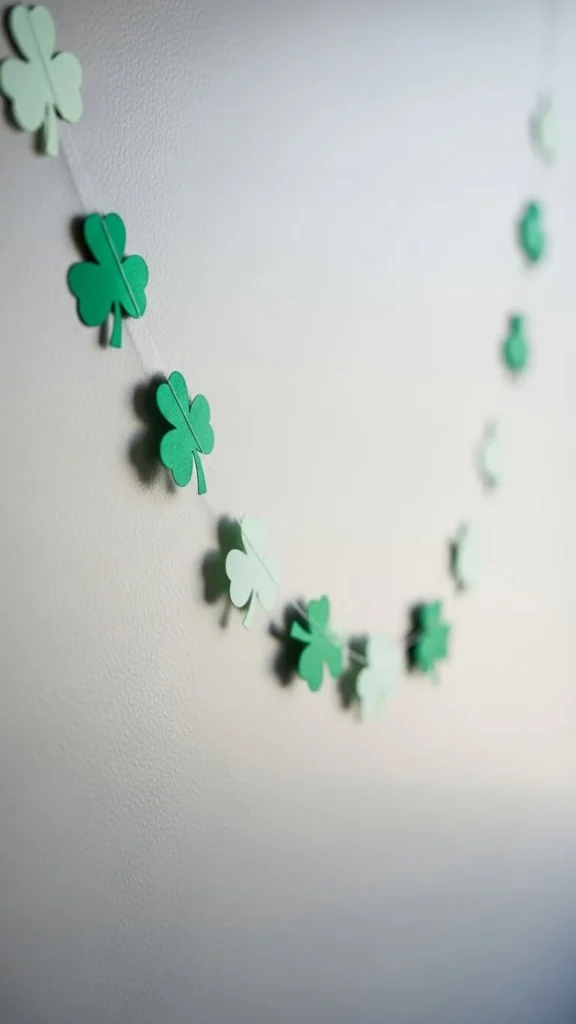
Paper shamrock garlands are timeless and easy to assemble. Cut shamrock shapes from cardstock in two or three green tones. Vary the sizes slightly to avoid a flat look. Punch small holes at the top of each shape and thread them onto twine or cotton string.
This garland works well on mantels, shelves, and door frames. Keep spacing even but not rigid. A little irregularity adds charm. For storage, slide the shamrocks together and roll the string gently.
Budget tip: Use recycled paper or paint plain paper green.
DIY idea: Layer two shamrocks together for depth.
2. Felt Shamrock Garland With Soft Texture
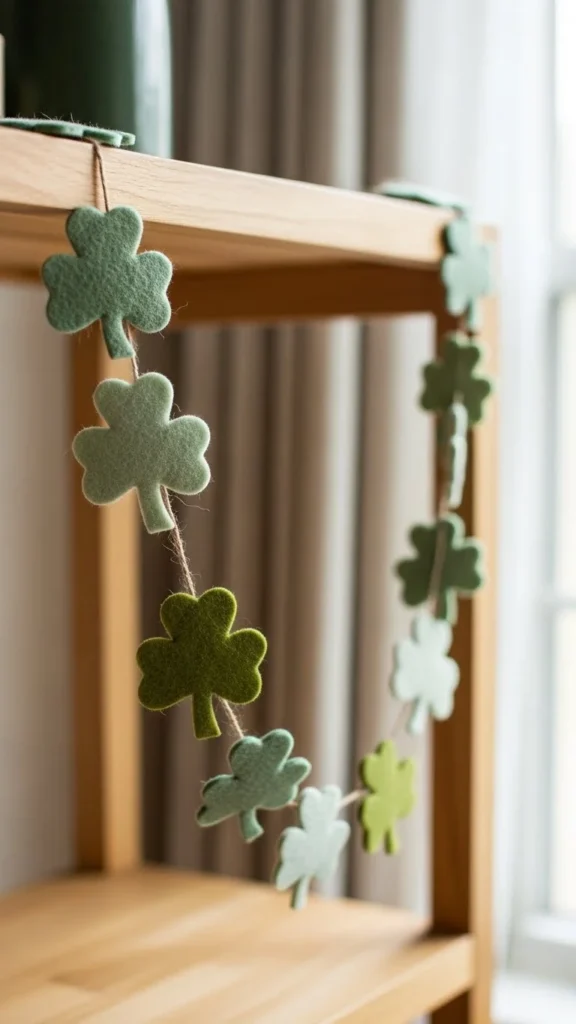
Felt adds softness and durability. Cut shamrocks from felt sheets and stitch or glue them onto ribbon or twine. Felt holds its shape well, making this garland easy to reuse year after year.
Hang it in kid-friendly spaces or over desks. Felt also works well for classrooms because it does not tear easily.
Budget tip: Felt sheets go a long way.
DIY idea: Stitch simple outlines using embroidery thread.
3. Fabric Scrap Shamrock Garland
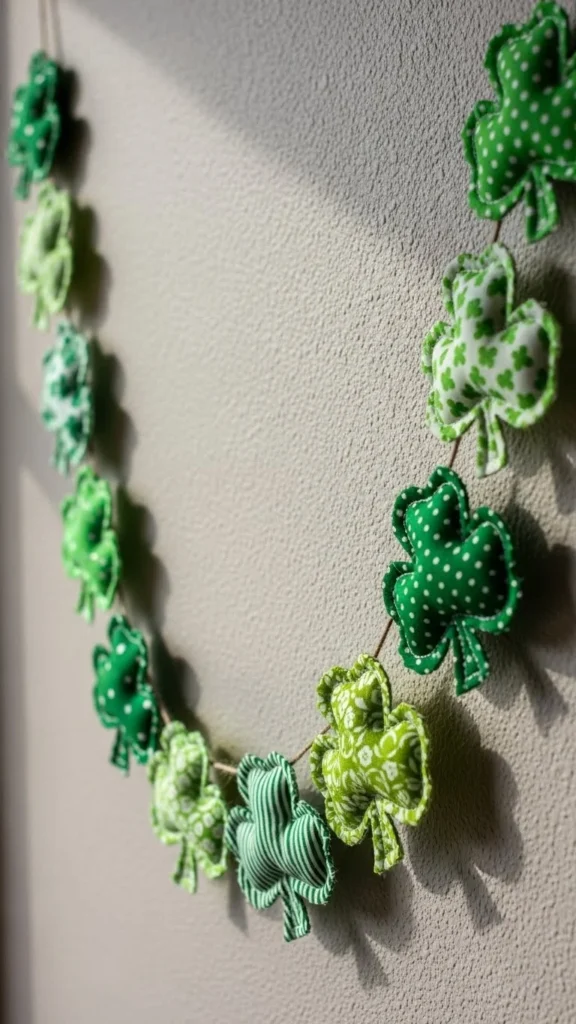
Fabric scrap garlands feel cozy and handmade. Cut shamrocks from cotton or linen scraps. Mix solids and subtle patterns within the same color family.
Attach to twine using small clothespins or glue. This garland works well indoors and adds texture to neutral spaces.
Budget tip: Use old shirts or table linens.
DIY idea: Leave edges raw for a relaxed look.
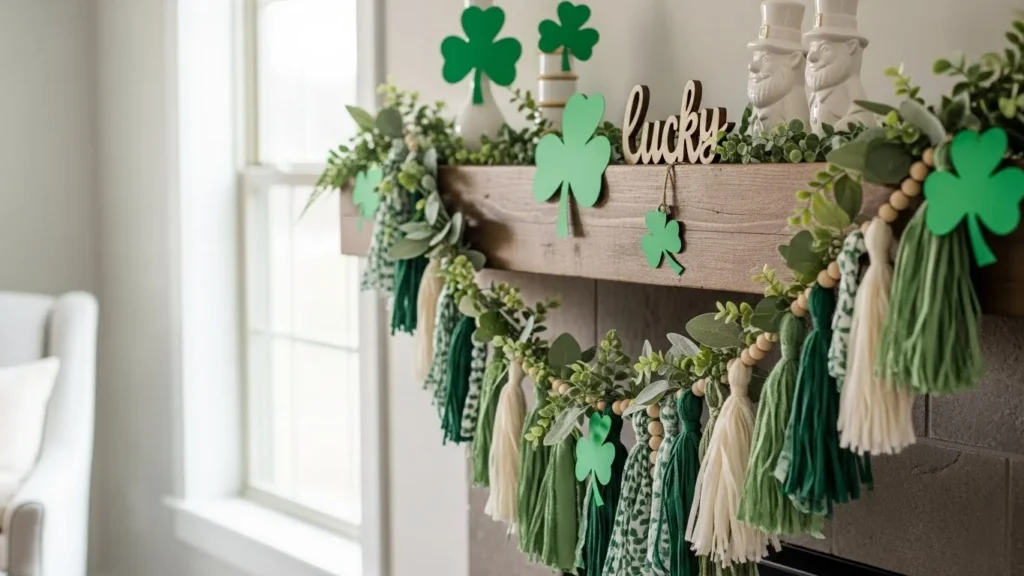
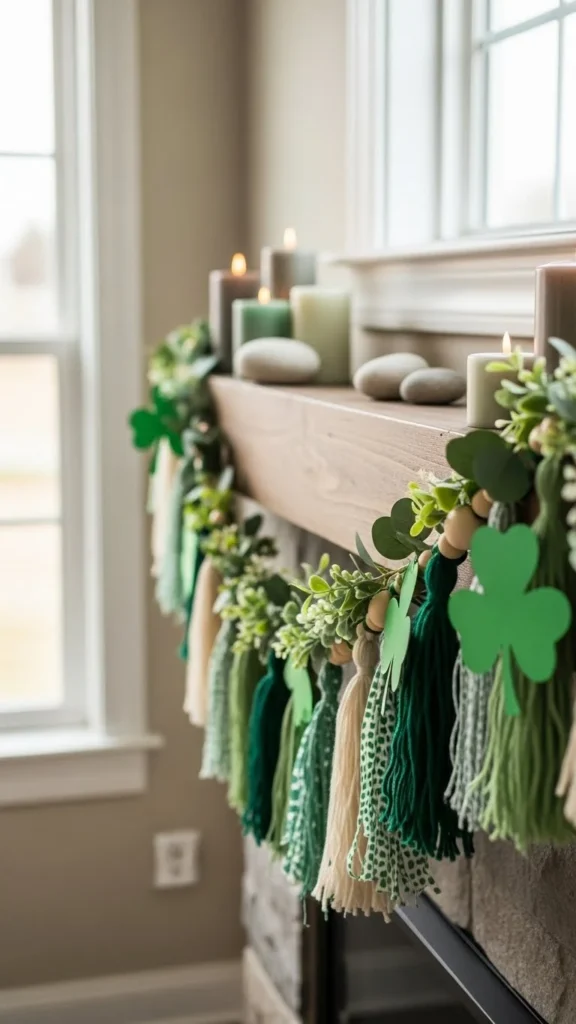
4. Wooden Bead and Green Tassel Garland
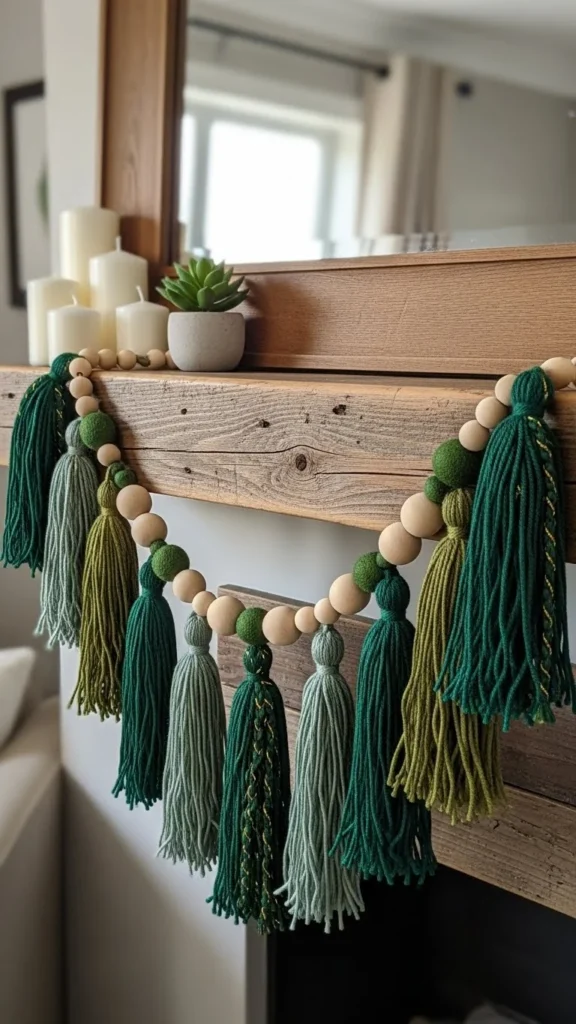
Combine unfinished wooden beads with green yarn tassels for a balanced look. String beads first, then add tassels at intervals.
This style looks great layered with framed art or greenery. It suits living rooms and entryways.
Budget tip: Paint only a few beads green.
DIY idea: Use two yarn shades for dimension.
5. Paper Clover Circle Garland
Instead of shamrocks, cut simple clover shapes. String them evenly for a clean look. This garland feels graphic and works well for windows or party backdrops.
Budget tip: One template speeds up cutting.
DIY idea: Use foam dots to add slight lift.
6. Green Paper Fan Garland

Mini paper fans create movement. Fold small fans and secure them before stringing together.
Hang this garland where airflow adds motion, such as near windows.
Budget tip: Construction paper works well.
DIY idea: Mix two green tones only.
7. Yarn Pom Pom Garland in Green
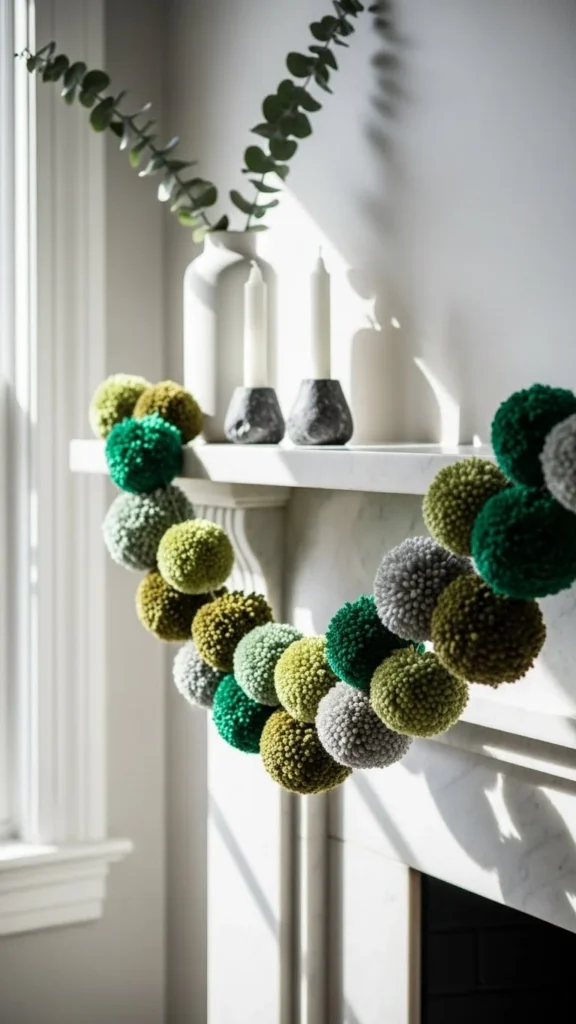
Pom pom garlands feel playful yet simple. Make pom poms in one or two green shades and string them evenly.
This style works well in casual spaces and kids’ rooms.
Budget tip: Use leftover yarn.
DIY idea: Keep pom poms small and even.
8. Paper Chain Garland in Green Shades
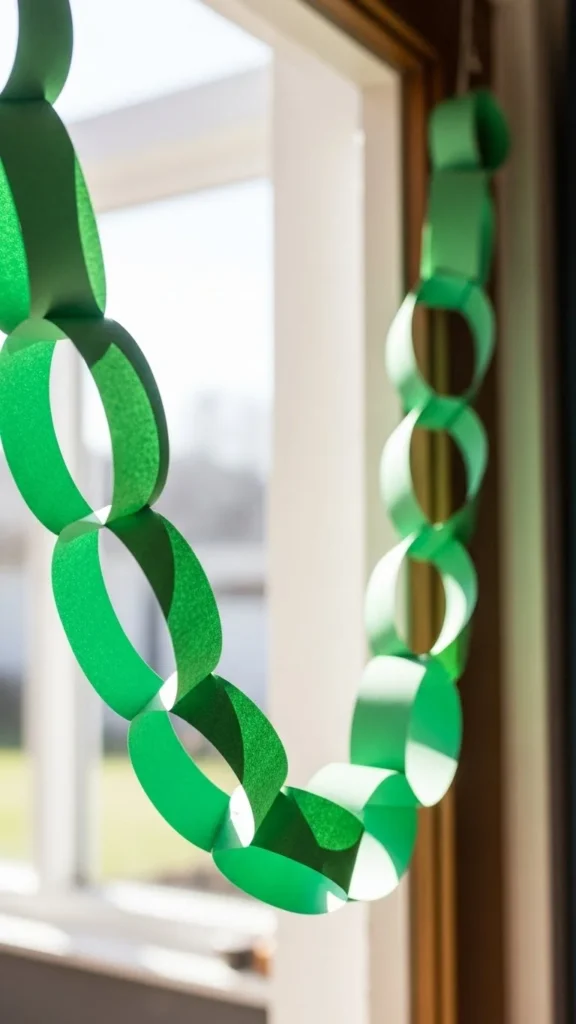
Paper chains are quick and familiar. Cut strips in multiple green tones and link them together.
They work well for parties and group crafting.
Budget tip: Use recycled magazines with green pages.
DIY idea: Alternate wide and narrow strips.
9. Shamrock and Bead Mixed Garland
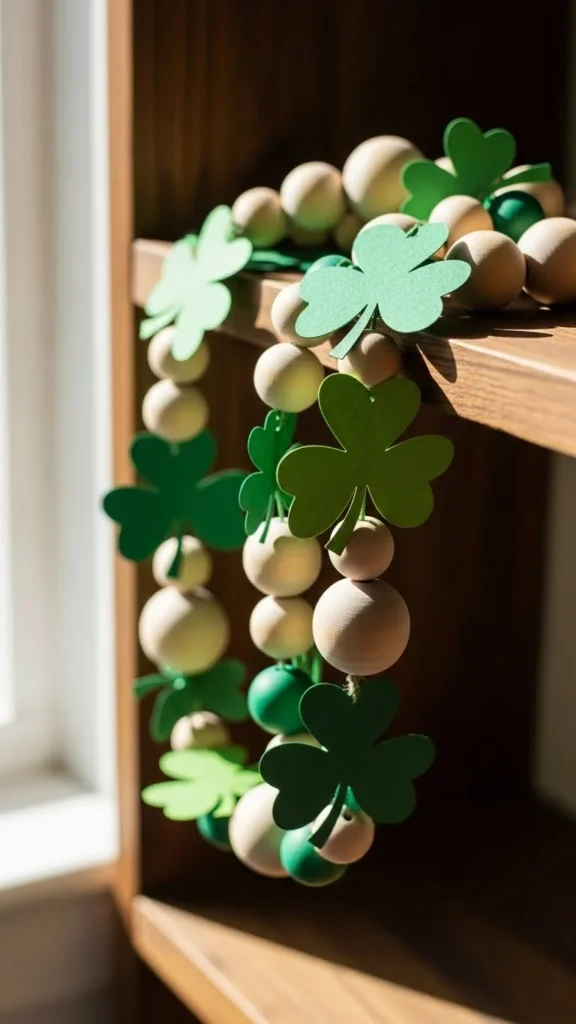
Alternate shamrocks with wooden beads for a layered look. This mix adds visual rhythm.
Budget tip: Use twine you already have.
DIY idea: Paint beads lightly for softness.
10. Mini Flag Banner Garland
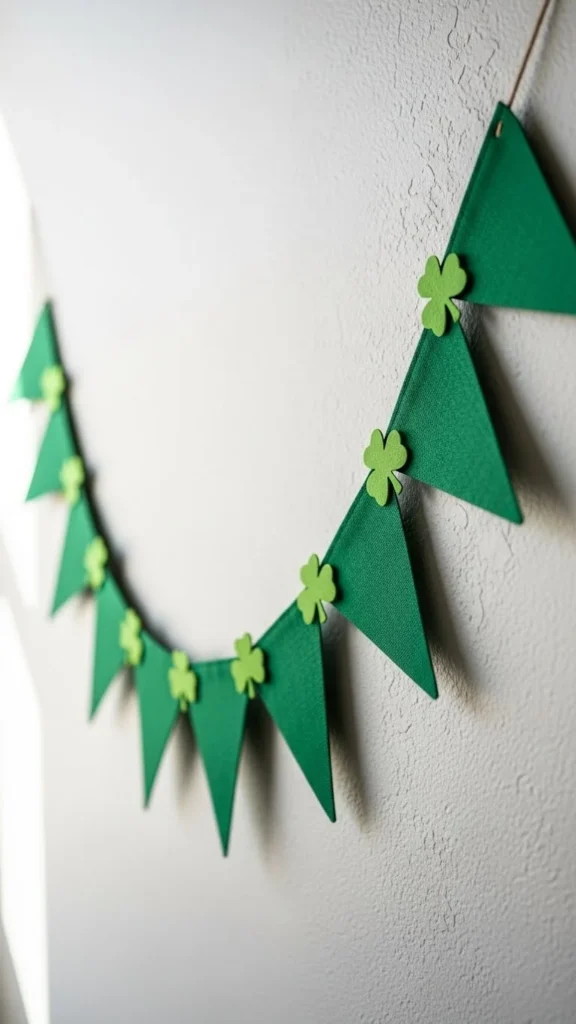
Cut triangle or rectangle flags from cardstock or fabric. Add small shamrock cutouts if desired.
This banner works well above tables or desks.
Budget tip: Use plain paper.
DIY idea: Punch holes instead of gluing.
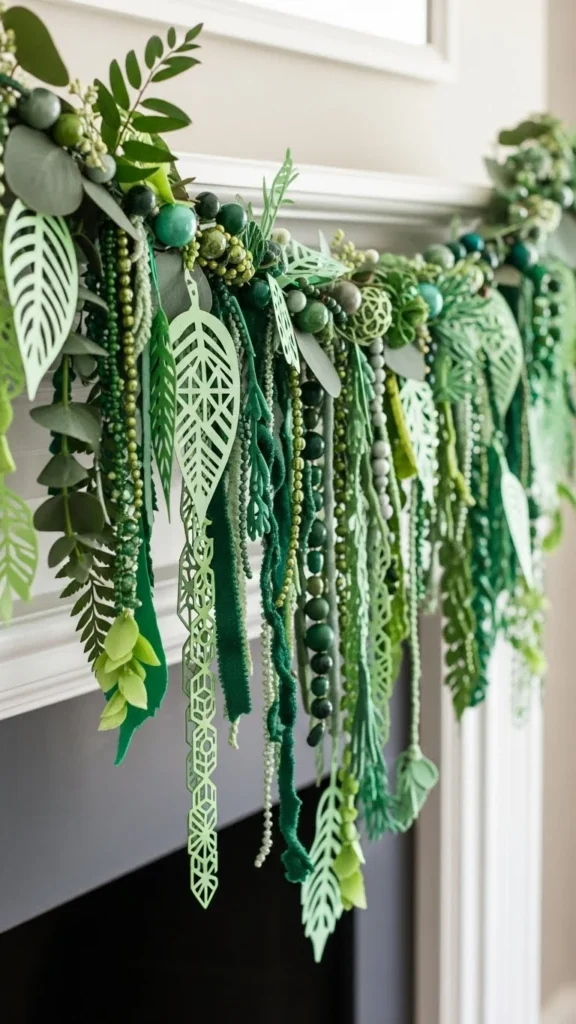
11. Faux Greenery Garland With Ribbon
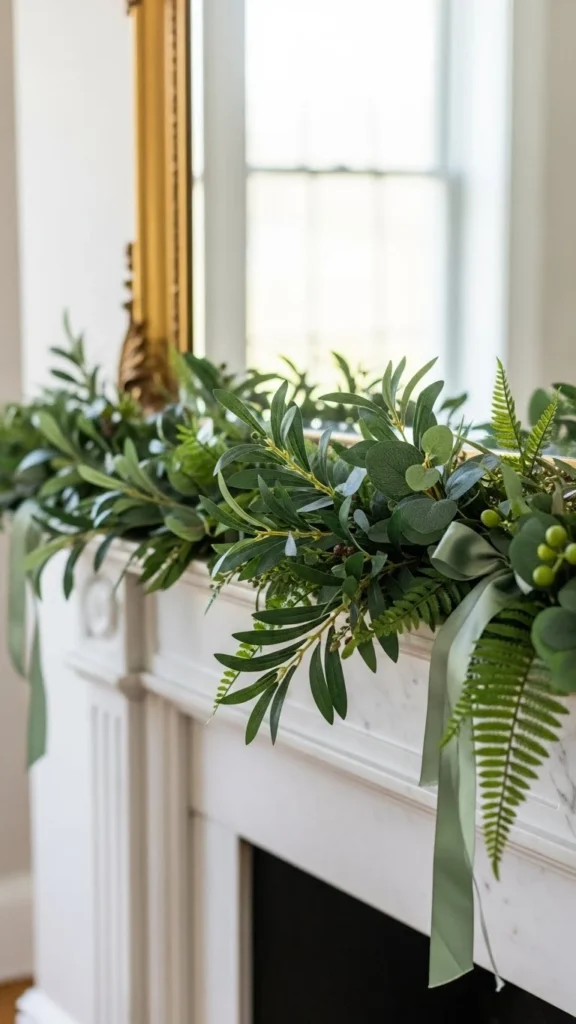
Greenery garlands feel natural. Add small ribbon ties to mark the holiday without overdoing it.
Budget tip: Use a single greenery strand.
DIY idea: Keep ribbon short and simple.
12. Paper Straw Shamrock Garland
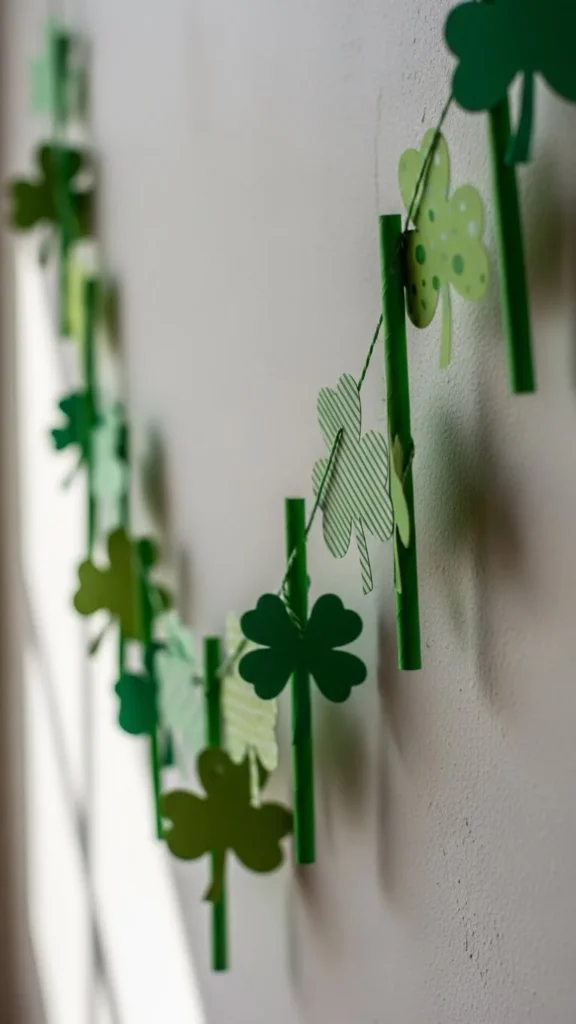
Thread shamrock shapes between cut paper straws. This creates structure and spacing.
Budget tip: Reuse leftover straws.
DIY idea: Cut straws at varied lengths.
13. Burlap and Green Ribbon Garland
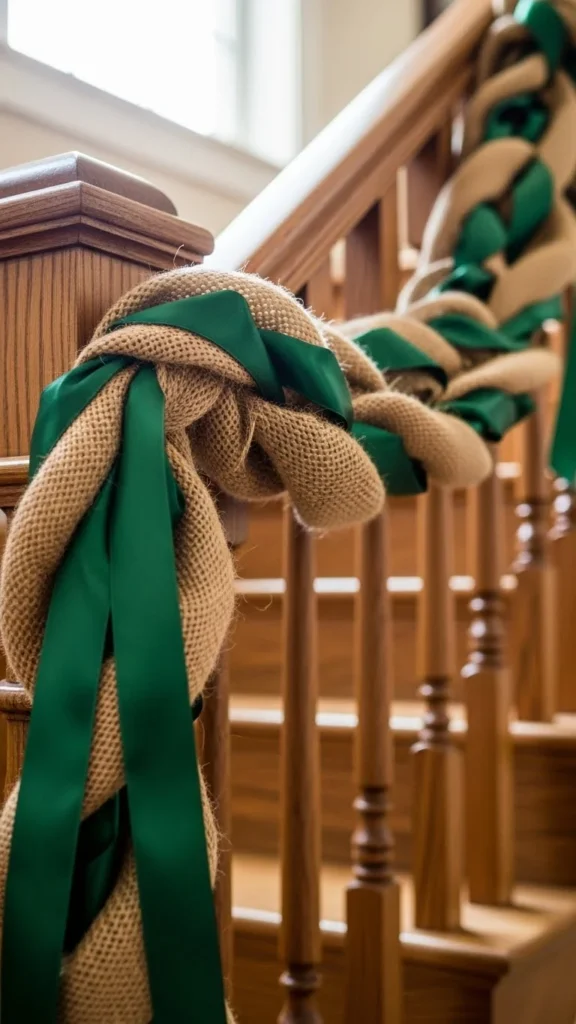
Tie burlap strips and green ribbon pieces along twine. Alternate textures for interest.
Budget tip: Cut ribbon from old fabric.
DIY idea: Keep knots loose.
14. Painted Cardboard Shamrock Garland
Use thin cardboard from boxes. Paint shamrocks in muted green shades.
Budget tip: One box makes many shapes.
DIY idea: Lightly sand edges.
15. Green Button Garland
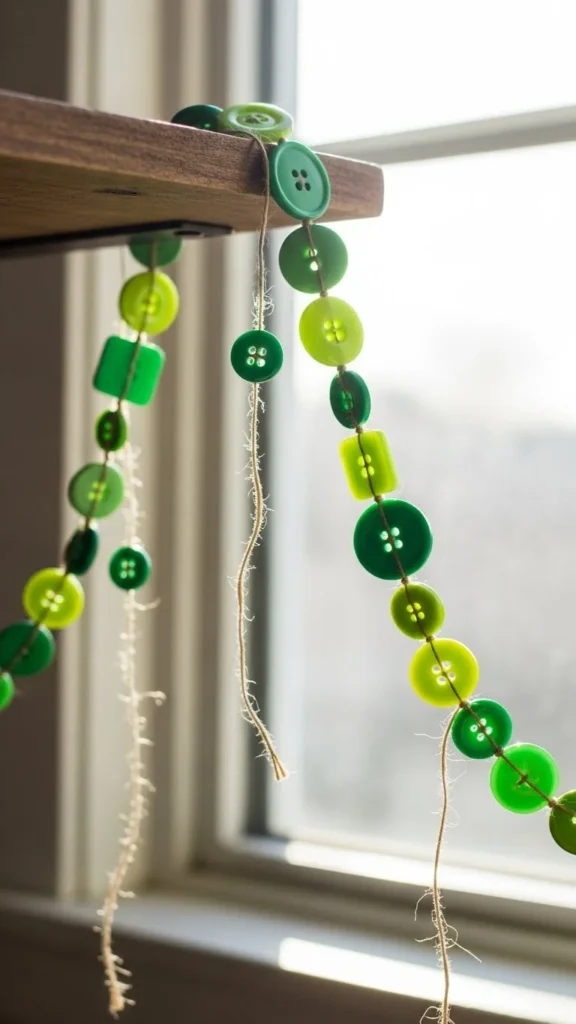
String green buttons of mixed sizes. This garland feels detailed and compact.
Budget tip: Use mismatched buttons.
DIY idea: Space buttons unevenly.
16. Paper Leaf Garland
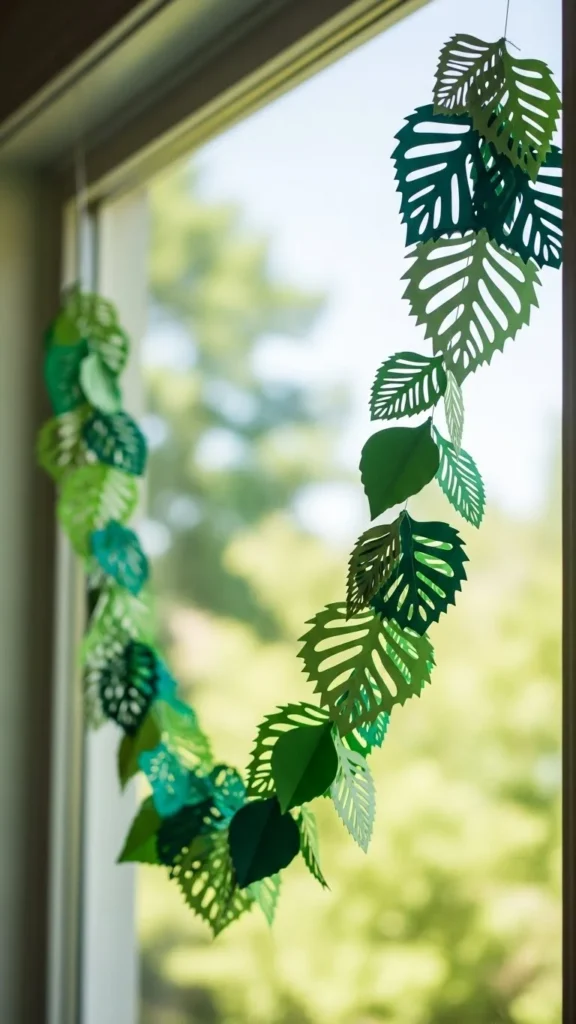
Leaf shapes hint at spring. Layer leaves slightly on the string.
Budget tip: Use recycled paper.
DIY idea: Curl edges gently.
17. Felt Ball Garland in Green
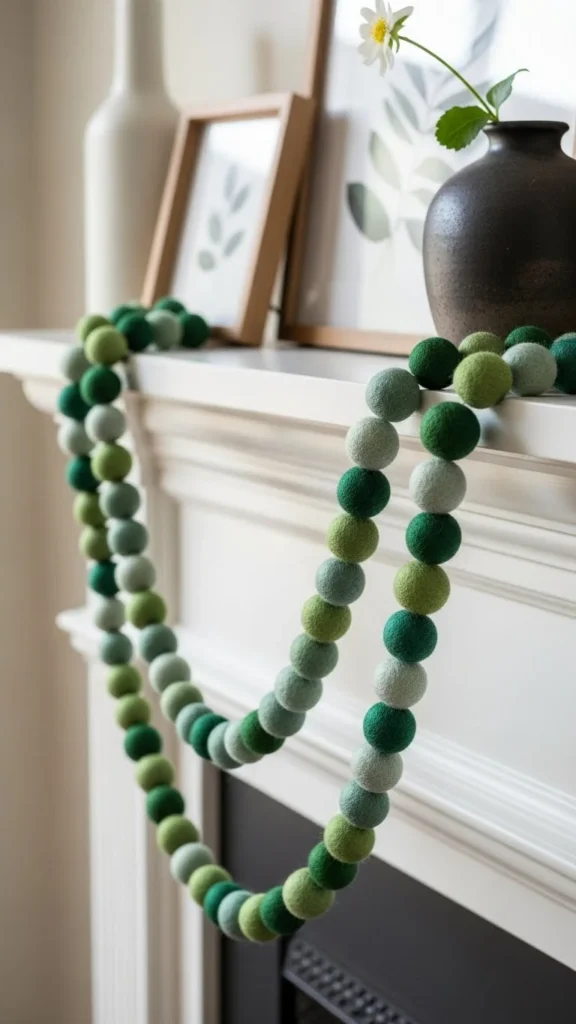
Felt balls create a clean, modern line. String tightly or leave small gaps.
Budget tip: Buy felt balls in bulk.
DIY idea: Stick to one color family.
18. Paper Rosette Garland

Flatten paper rosettes and string side by side.
Budget tip: Use scrap paper.
DIY idea: Mix rosette sizes.
19. Twine and Shamrock Cutout Garland

Clip shamrocks to twine using mini clothespins. Easy to adjust and reuse.
Budget tip: Clothespins are reusable.
DIY idea: Swap cutouts yearly.
20. Green Fabric Strip Garland

Tie fabric strips directly onto twine. No sewing required.
Budget tip: Use old scarves.
DIY idea: Mix fabric weights.
21. Paper Clover Dot Garland
Use small clover dots spaced evenly. This works well in modern spaces.
Budget tip: Use a hole punch.
DIY idea: Keep spacing wide.
22. Mixed Texture Statement Garland
Combine several materials for a full look. Keep colors consistent to avoid clutter.
Budget tip: Use leftovers from other crafts.
DIY idea: Build in short sections first.
Conclusion
St Patrick’s Day DIY garlands are a simple way to bring seasonal charm into any space without taking up room or budget. Whether you prefer paper, fabric, or mixed textures, these ideas show how small handmade details can make a noticeable impact. Choose one garland style that fits your space and enjoy creating decor that feels cheerful, flexible, and easy to store for next year.

DiyVisual is a DIY ideas resource for makers of every level. Our small editorial team researches and curates easy, budget-friendly craft, home decor, and handmade gift projects — explained step by step so anyone can recreate them at home with simple materials.


